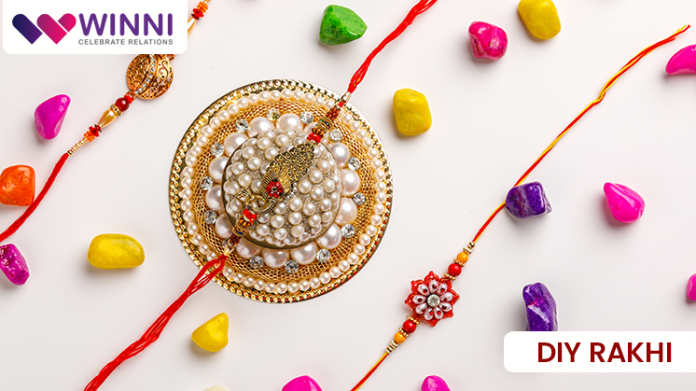
As we already know, Raksha Bandhan or Rakhi cherishes the bond between siblings. With the changing time, the way of celebrating the festival has also changed. Although it holds immense cultural and emotional significance. Today, the tradition has surpassed the idea of a sister tying rakhi only to their brothers. Other than this, the simple holy thread of rakhi is now available in multiple shapes, designs, and themes. While traditional rakhis were made of silk threads, contemporary rakhis are more creative and vibrant, catering to diverse tastes and preferences. Fortunately, even after transformations, the occasion continues to foster love, harmony, and a reminder of the importance of these connections and togetherness.
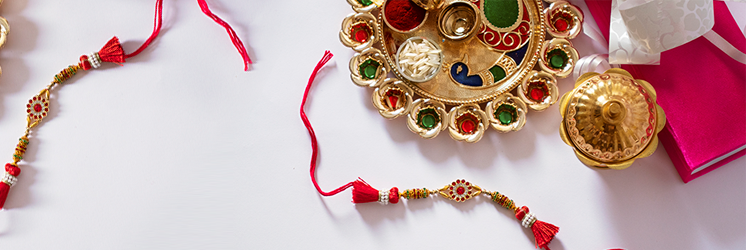
Talking about the type of Rakhis, we still have traditional Rakhis. Besides, there are modern Rakhis, bracelet Rakhis, as well as theme Rakhis, such as God theme Rakhis, cartoon theme Rakhis, bro theme Rakhis, and more. However still, the best remains a homemade Rakhi where you get an extra touch of love. So, if you want to show off your true affection, here’s how you can make a Rakhi at home.
Material required to make a handmade rakhi
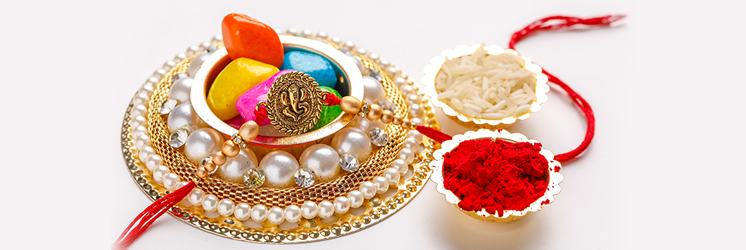
You might need multiple small things to make a rakhi at home. But first things first, to begin with, you’ll need a base for your rakhi. A silk thread, a satin ribbon, or any other decorative string can do the job well. Now, you can collect some beads, stones, pearls, sequins, or other items to embellish your rakhi. Additionally, you can take your creativity with your existing material or a picture of your brother for a photo rakhi. Needless to say, you will require a pair of scissors and glue to secure your holy thread into place. With these things in your hand, you can create a beautiful and heartfelt rakhi that’ll be remembered forever.
(Gist) Things you require
- Silk thread, satin ribbon, or other decorative string
- Decorative items: beads, stones, pearls, sequins, etc
- A picture of your brother cut in shape for photo rakhi
- Cardboard (for photo rakhi)
- Scissors, glue, or thread
How much time does it take to make a rakhi at home?
The time it takes to make a homemade rakhi really depends on your skill level, the design complexity, and the attention to detail you pay. Although here’s an idea of the time you need to invest.
- A simple rakhi with minimal embellishments can be crafted in 10-15 minutes.
- Photo rakhi with decorations will take around 30 minutes of your day.
- Complex rakhi which includes embroidery or detail bead work can take up to an hour.
Besides the other mentioned factors, time is often influenced by your familiarity and handling of the materials. Regardless of the time it takes, it will be a unique and heartfelt expression of your love and affection.
How to make rakhi at home?
Making your own Rakhi at home is a fun activity. Here’s a littlestep-by-step help you could use.
- Select a suitable base for your rakhi and cut it to your desired length and size.
- Decorate your base by adding the decorative elements. You can glue the beads and pearls to the ribbon or threads. Show your own creativity here.
- Secure the decorations with the help of glue to hold the items. Alternatively, you can also tie a knot at the end of the thread or stitch the decorations using a needle.
- To personalize your rakhi, you can attach a small cutting of cardboard at the back side of rakhi. At the front, you can paste a picture of your brother or a blank paper with a essage on it.
- Give a finishing to your rakhi by trimming off the excess thread and ensure that the rakhi looks neat and tidy.
- Let the rakhi rest or dry if you are using glue
Needless to say, if your brother lives far away, technology and online shopping portals can help you send Rakhi to your brother, eliminating the geographical distance and ensuring the bond remains the same.

